Christmas Tree Nail Art Tutorial
It's Christmas Eve! Today I will show you how to make Christmas Tree nail art inspired by CutePolish in Youtube.
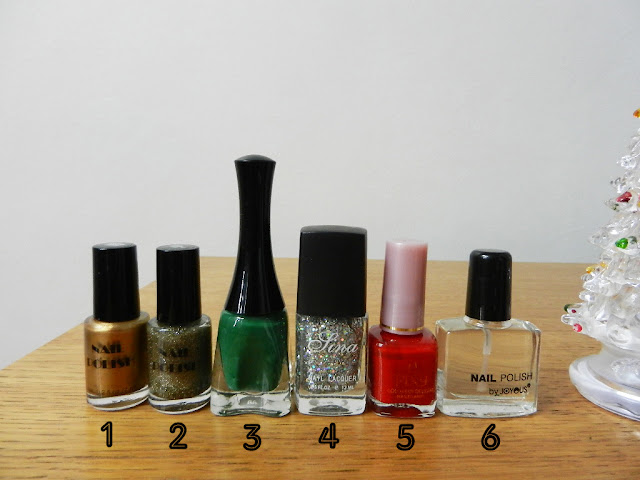
So I will use the festive color such as green, red, gold, and shimmer. Perfect for Christmas! But you can change the base color as you desire.
This step-by-step tutorial is easy to do, enjoy!
VOILA!
Hope this tutorial helpful for you! Have a joyful Christmas ;)
So I will use the festive color such as green, red, gold, and shimmer. Perfect for Christmas! But you can change the base color as you desire.
This step-by-step tutorial is easy to do, enjoy!
 |
| STEP 1: Start with the base coat, and paint your nails with shimmery gold polish ( I mix polish no 1 & 2) |
 |
| STEP 2: Make a guideline using green polish (no 3). You can use a small brush/dotting tools/ toothpick. |
 |
| STEP 3: Fill in the lines with green polish with the nail polish brush |
 |
| STEP 4: After dry, give the tree a big glitter polish (no 4) |
 |
| STEP 5: Using a dotting tool/ toothpick make a dot in the top of the tree using red polish (no 5) |
 |
| STEP 6: Finished with the topcoat (no 6) and you're done! |
VOILA!
Hope this tutorial helpful for you! Have a joyful Christmas ;)


Simple yet beautiful :)
ReplyDeleteThis is beautiful! Simple, classy and festive!
ReplyDeletewould you give another simple nails art :D i love it:)
ReplyDeletewould you give another simple nails art? :D i love it:)
ReplyDelete